How I've created an intruder detector - Part 1
Introduction
I’ve always wanted to have something running at my place to notify me in case of motion. Most of the time it would be the cat, but eh, cat pics are the best, right ? Don’t you think it would be great to count how many times she goes eating at night ? Well…
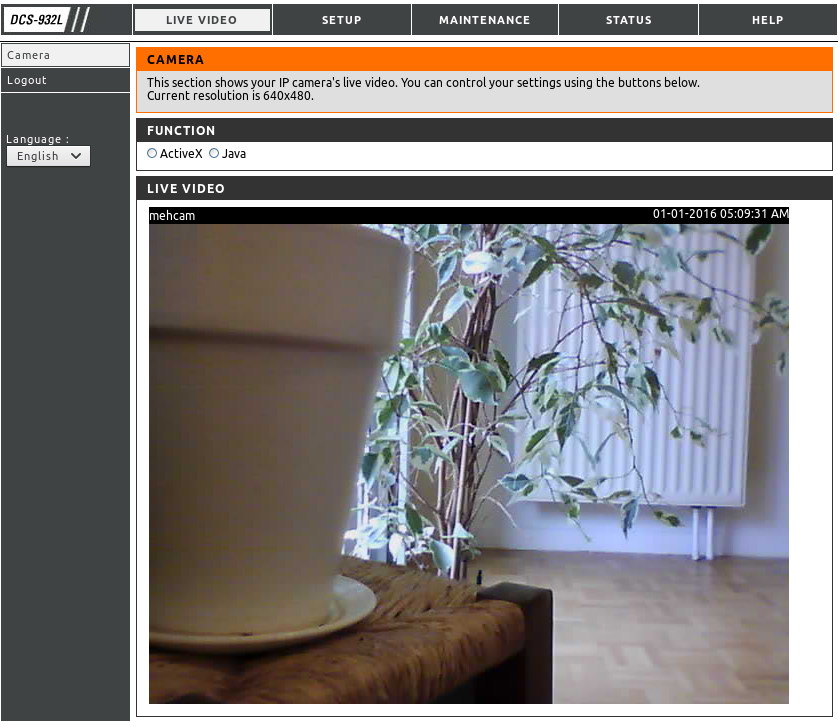
A friend of mine had a D-Link DCS 932L abandoned in a box and was ok to lend it to me. It’s a basic IP camera supporting Ethernet and wireless connection and having a night mode.
After I plugged it on my router and updated the firmware to the latest version (I’m not really into having my devices hacked and used in attacks such as Mirai attacks), I’ve connected the camera on my local network using wifi but the router disallowed it to go out of the local network. It was ready to use:
This article is separated in three parts:
- Part 1 - Get the picture (below)
- Part 2 - Motion detection
- Part 3 - Notification
Part 1 - Get the picture
Why developing it myself
First things first, we can see in the original application accessible through an HTTP server running on the camera that there is a motion detection page. Nice, it’s probably already done and I won’t have to reinvent the wheel.
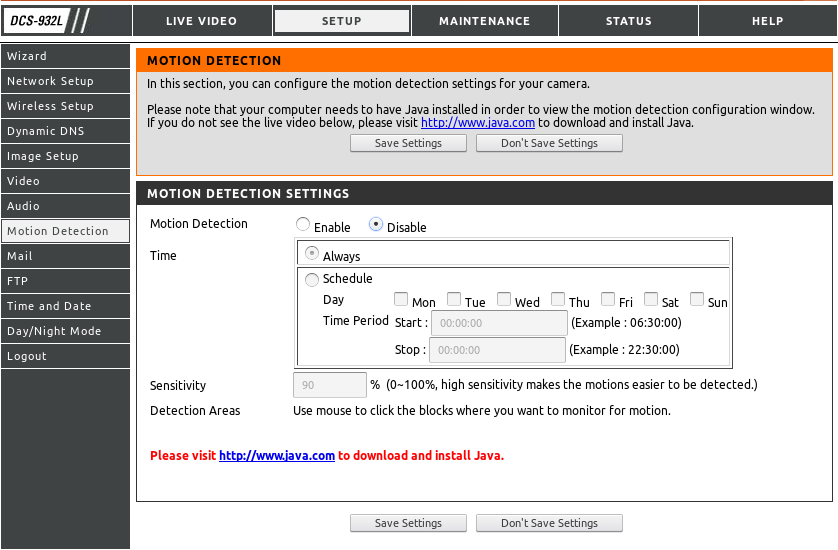
However, the important part of motion detection would be to notify me of motion and to save the pictures somewhere, this is the disappointing part. The application provides a feature to copy the pictures on a FTP server or a feature to send them by email using an SMTP server, but:
- I don’t want and will never want to have the responsability and the pain of running an SMTP server.
- As for the FTP server, why not. I could setup one but… what about the notification part ?
- Also, I don’t want the camera to be connected to the internet, I want it to be only accessible from my local network.
Then, I took a look at OpenWrt: the DCS-932L is actually supported and it looks like it is easy to setup. Don’t forget that the camera has been borrowed from a friend and unfortunately, even if I would have a more friendly system setup on the camera (with probably direct access to the picture), I would still need to code something to detect the motion, store the pictures and do the notifications.
This is when I’ve decided that it should be pretty quick to do it myself, if only the picture was not too hard to retrieve from another device of my local network. Finally, it’s been a long time since I’ve decided that I don’t need any excuses to develop something.
Get the picture from the camera
Back to the welcome page of the default application, we can see that the picture is accessible without Java nor ActiveX as we already see a picture. Note that I’m logged in, I’ve filled my login/password in a basic authentication popup of the browser so, what is interesting to us is how the browser identifies itself to the camera HTTP server. Probably cookies or session token, etc. One right-click later and the development tools opened:

We can see in the request headers an “Authorization” field: it’s the one used for “Basic Authentication” and here, it definitely looks like it’s the only thing sent by the browser to identify itself. Before continuing, I want to address a detail a bit scary about this IP camera:
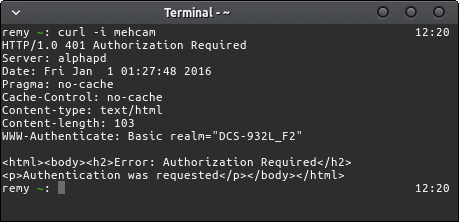
Just calling the HTTP server of the camera without any credentials information gives you information on the device behind this HTTP server. It means that people having this camera directly accessible on internet openly disclose the device model to everyone: it is something critical if there is known and effective vulnerabilities for this model. I would not be surprised if some can be found on Shodan.
Back to our use-case. Let’s decode this base64 encoded string:

Nothing special here it is just HTTP Basic Auth. In other words: it’s clear text password provided through HTTP headers. So next thing to try is to simply call the camera HTTP server with this header set with the same value as seen in the browser devtools.
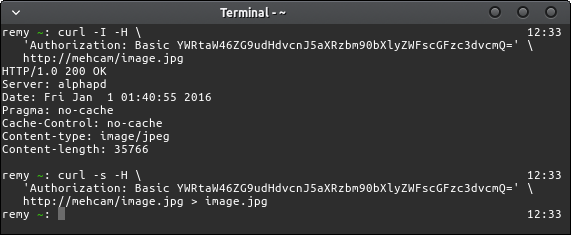
OK. It was scarily easy. First curl call is to read the HTTP status response to validate whether or not our guess is right: we have an HTTP 200 response, looks like we’re authorized to get this file. The second call is to get the image and store it in the image.jpg file. So, what do we have in image.jpg ?

It’s actually what the camera sees: we have our picture.
This is the end of the Part 1 - Get the image. In Part 2 - Motion detection, we’ll see how to retrieve these pictures with Golang, detect motion and store these pictures.